Photo Gallery — Both And Pictures
Nonprofit
Destinations & Events
Corporate
Services
Meet Us
Nonprofit
Destinations & Events
Corporate
Services
Meet Us
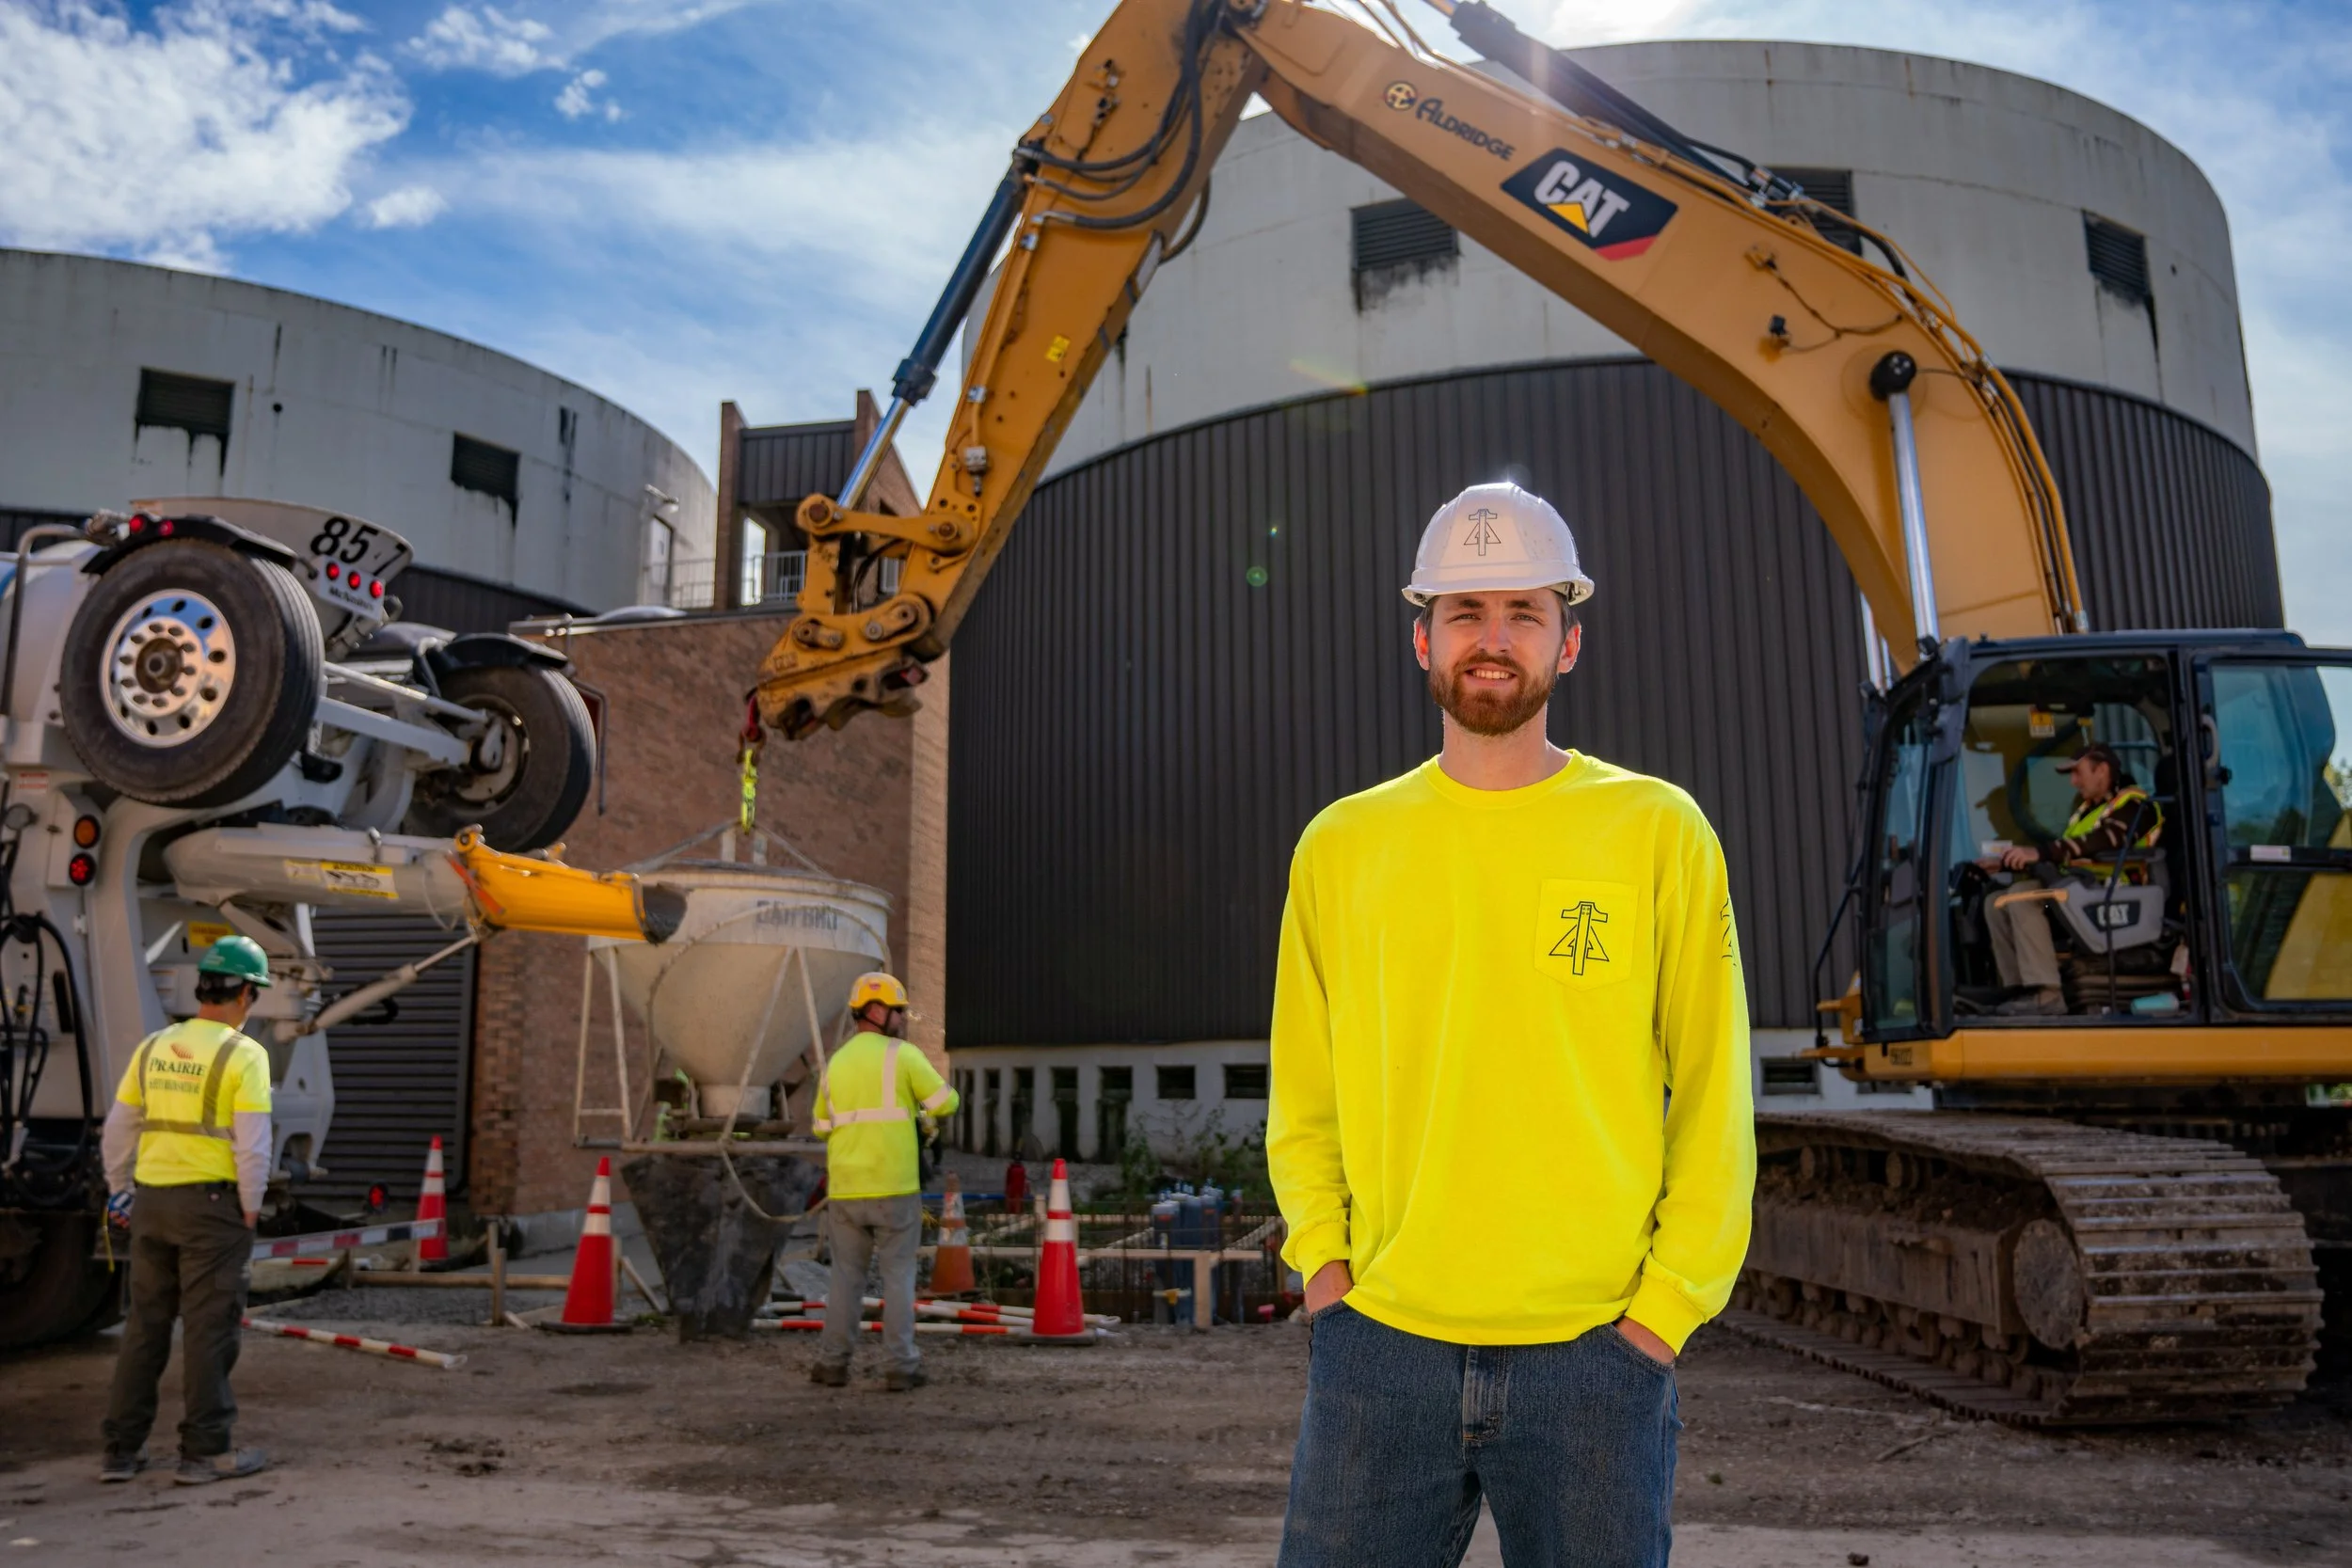
Our Gallery of Real People
Who they are. Why they matter.
VISIT GALLERY
:
people
|
places
|
things
Let us capture you in the way that your are.
People Gallery
Gallery About People
×
Let's Talk
Name
(required)
First Name
Last Name
Email
(required)
Subject
(required)
Message
(required)
Submit
Submit